You can read the previous part here:
How to create a floorplan in home assistant – part 1
How to create a floorplan in home assistant – part 2
How to create a floorplan in home assistant – part 3
In this part of the blog series we are going to create the buttons I use in the left lower corner and upload the images into home assistant and showing it on a dashboard
Creating the button images
Now we have a nice 3D floorplan. But in my case there is a little room for some extra buttons on the left right corner. You can also use these buttons in an separate dashboard.
I will show you how to create those buttons using the program GIMP

Buttons templates
First I have downloaded a template from the home assistant forum. I’m unable to find it now so I can not give credit to the person who made it.
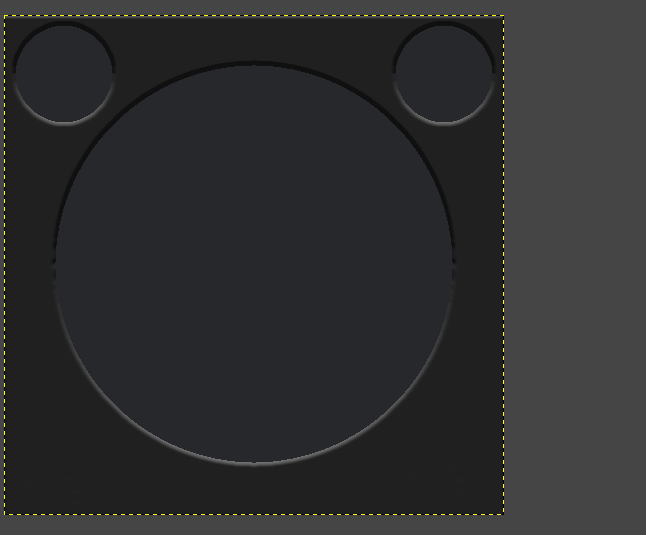
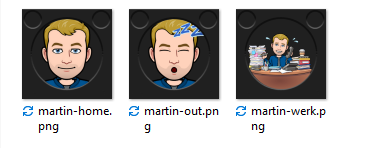
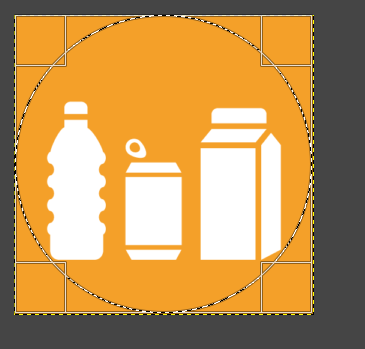
Here are is the Images. The second one is the one I have created from the template image. We can use these ones to create the buttons for the persons
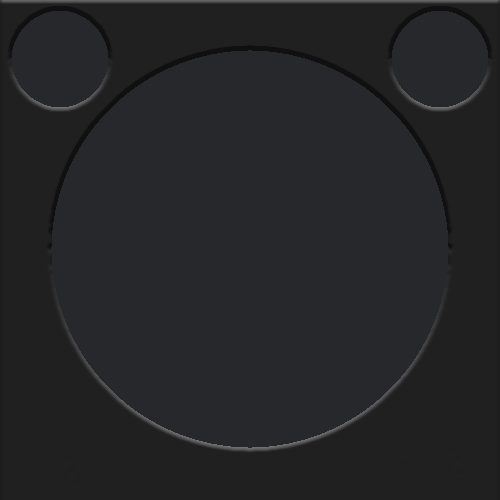
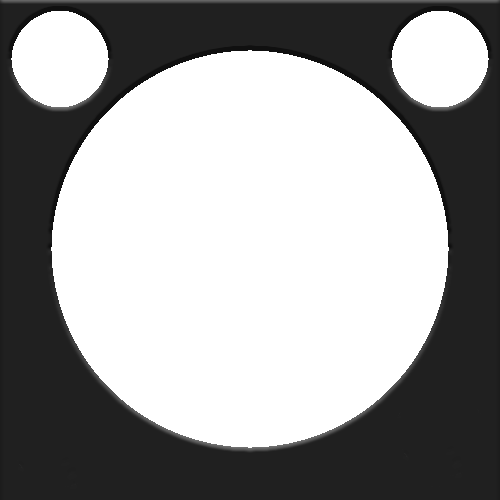
I have edited the little holes on the top right and top left. Now we have 2 more template buttons. We will use this one for the buttons that does not need any battery information

Creating the person images
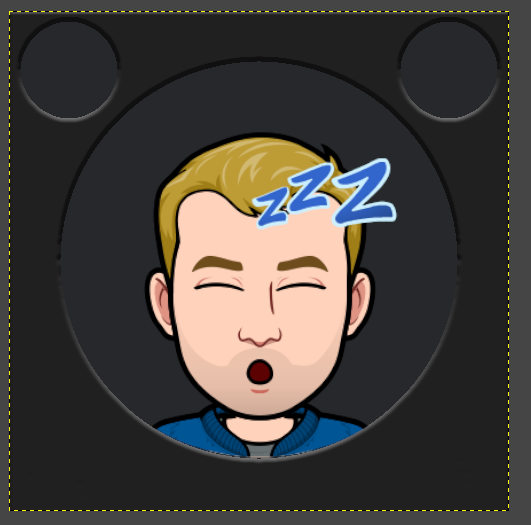
This Image is the hardest one to create but once done you will get the idea on how this works and can create your own.
First we need to get a nice cartoon image looking of yourself. Download the app Bitmoji and create a cartoon image of yourself. Once done open Chrome on your desktop and install the plugin https://chrome.google.com/webstore/detail/bitmoji/bfgdeiadkckfbkeigkoncpdieiiefpig
Now open the plugin and search for a nice image. Try school, office, sleep etc. Once you found one, right mouse click on the image and select open image in new Tab
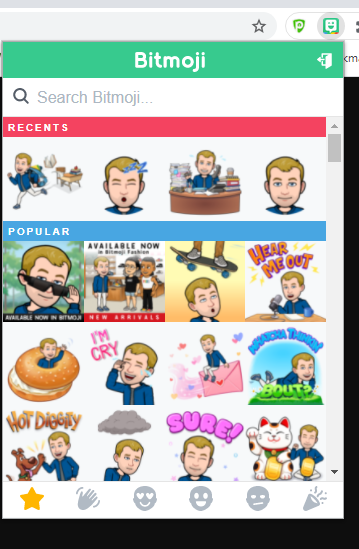
You can now download the image ( Right click on Image -> Save Image )

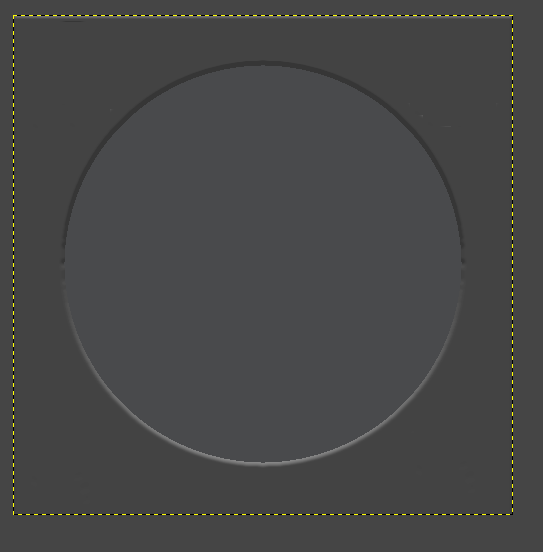
Start Gimp and create a 500×500 image with a black background and open as layer the button person_frame.png
Open the Image we just downloaded as a layer
File -> Open as Layers
If the image does not fit you can scale the image or move the image with the following buttons
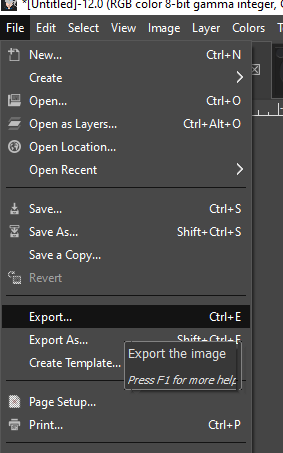
Once done export the image
Now create more of those image for every situation you want to track. I have Home, Away, Office and for my kids I have school
Creating other Buttons
Again new image 500×500 with a black background
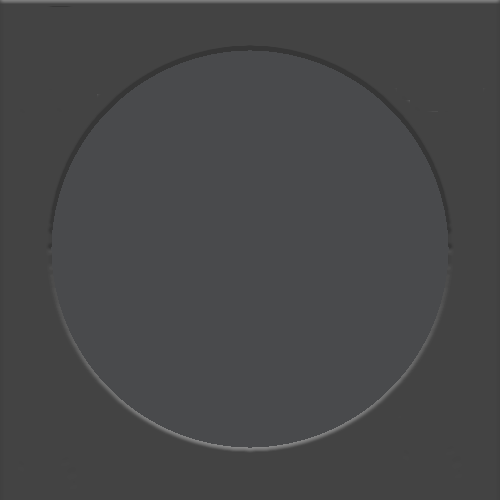
Open as layer the button.png
Now open an other image. In my case I open pmd_groot.png
File -> Open
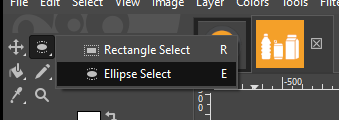
Now hold the rectangle button and select the ellipse Select
Drag the mouse from the upper right corner to the lower right corner
Now on your keyboard press Control+C to copy it
Then go back to the button image and press Control+V

You can do this for multiple buttons this way
Upload the image into Home Assistant
First we need to activate the FTP in home assistant
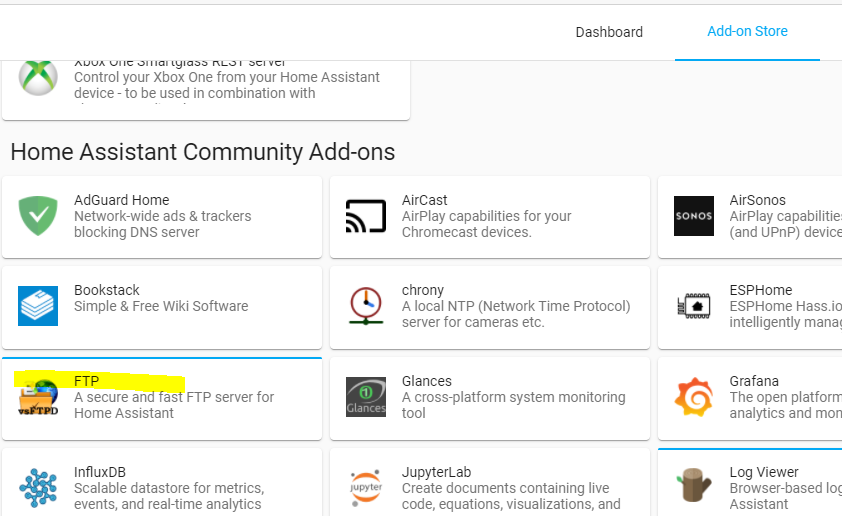
Install the FTP add-on. Supervisor -> Add-on store
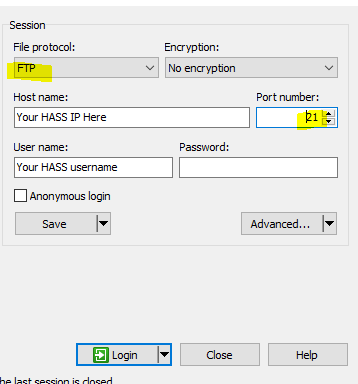
Start WinSCP en open new session on port 21
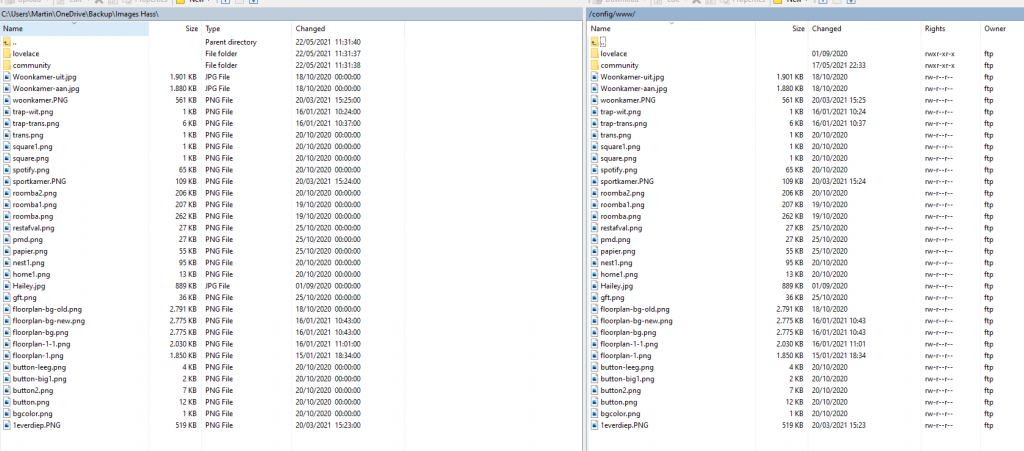
If a www directory does not exist then create one ( Right click -> new folder)

Now copy all the created images in this www folder
You can drag from the left screen to your right screen
Using your images in home assistant
Open home assistant and create a new card with the picture element
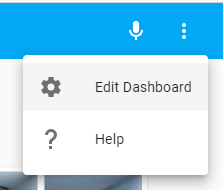
In the bottom press the add card button
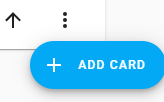
Select picture element card
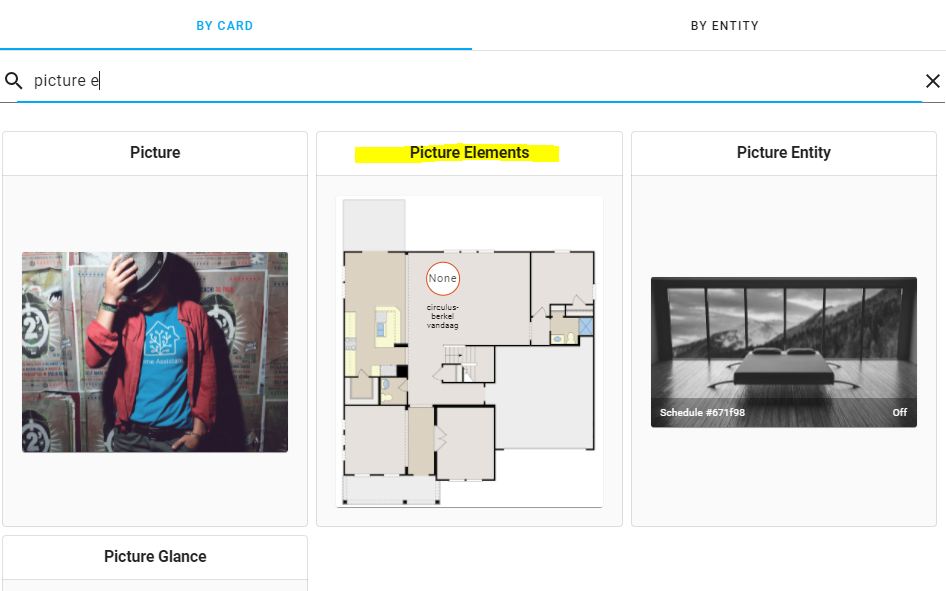
Change the image url to local/your_image_name.png
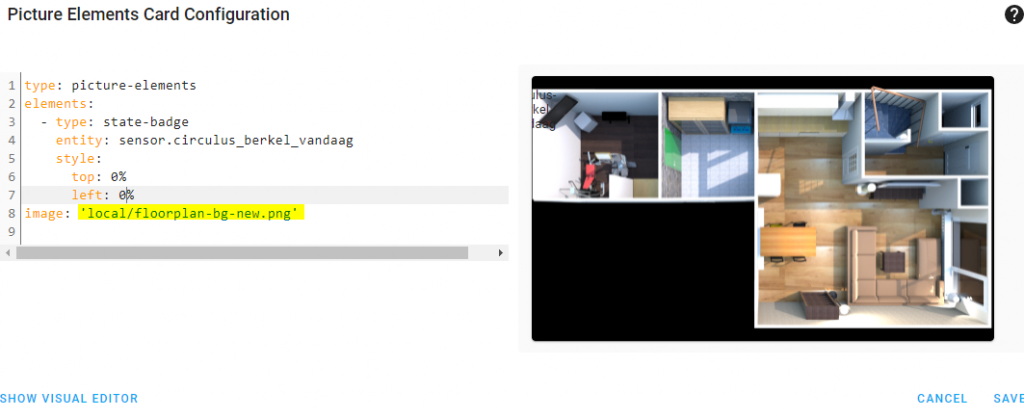
Press save.
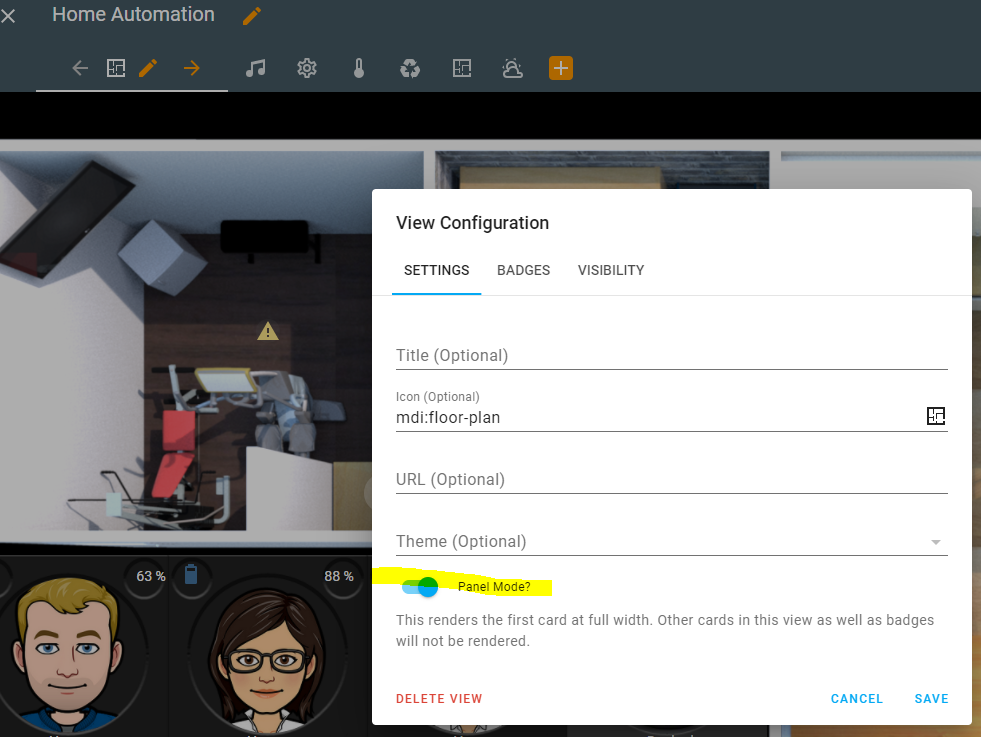
Now the image is in home assist. If you want it full screen then use the panel mode in an new dashboard. I will go deeper in creating the dashboard in the next part
This conclude this part of the blog series Create a Floorplan in Home Assistant in the next and last part we are going to
- Create a dashboard for this floorplan
- Make the floorplan interactive by adding all the lights and switches
- Adding all the buttons